Getting OAuth Credentials
To utilize datasheets, you’ll need to get it connected to your Google Drive and Google Sheets repositories. There are two possible ways to do this: user-granted authorization (‘OAuth Client ID’) or the use of a service account (‘OAuth Service Account’), both of which are implemented through the underlying Google oauth2client library. A description of both authentication mechanisms follows below, but before we can use either mechanism we need to create a project.
Setting Up A Project
Head to https://console.developers.google.com and sign in (or sign up if you haven’t yet).
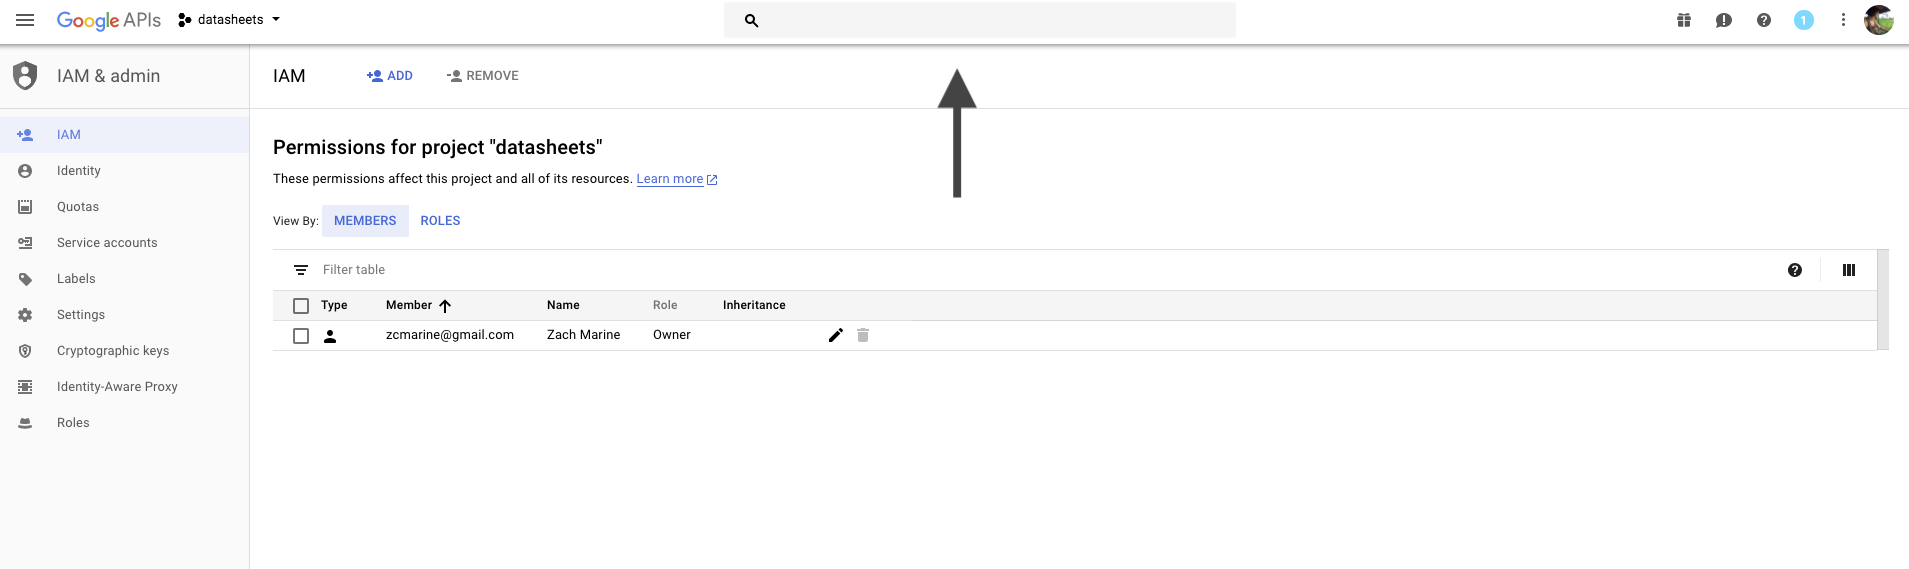
Create a new project. You can title this whatever you want; it won’t be shown to you or any other end user by datasheets. Note that if your organization has put restrictions on who can create projects you may have to reach out to get added to an existing datasheets project (if it exists) or ask to have a project created.

Use the search bar at the top to search for Google Drive API, then click ‘Enable’.
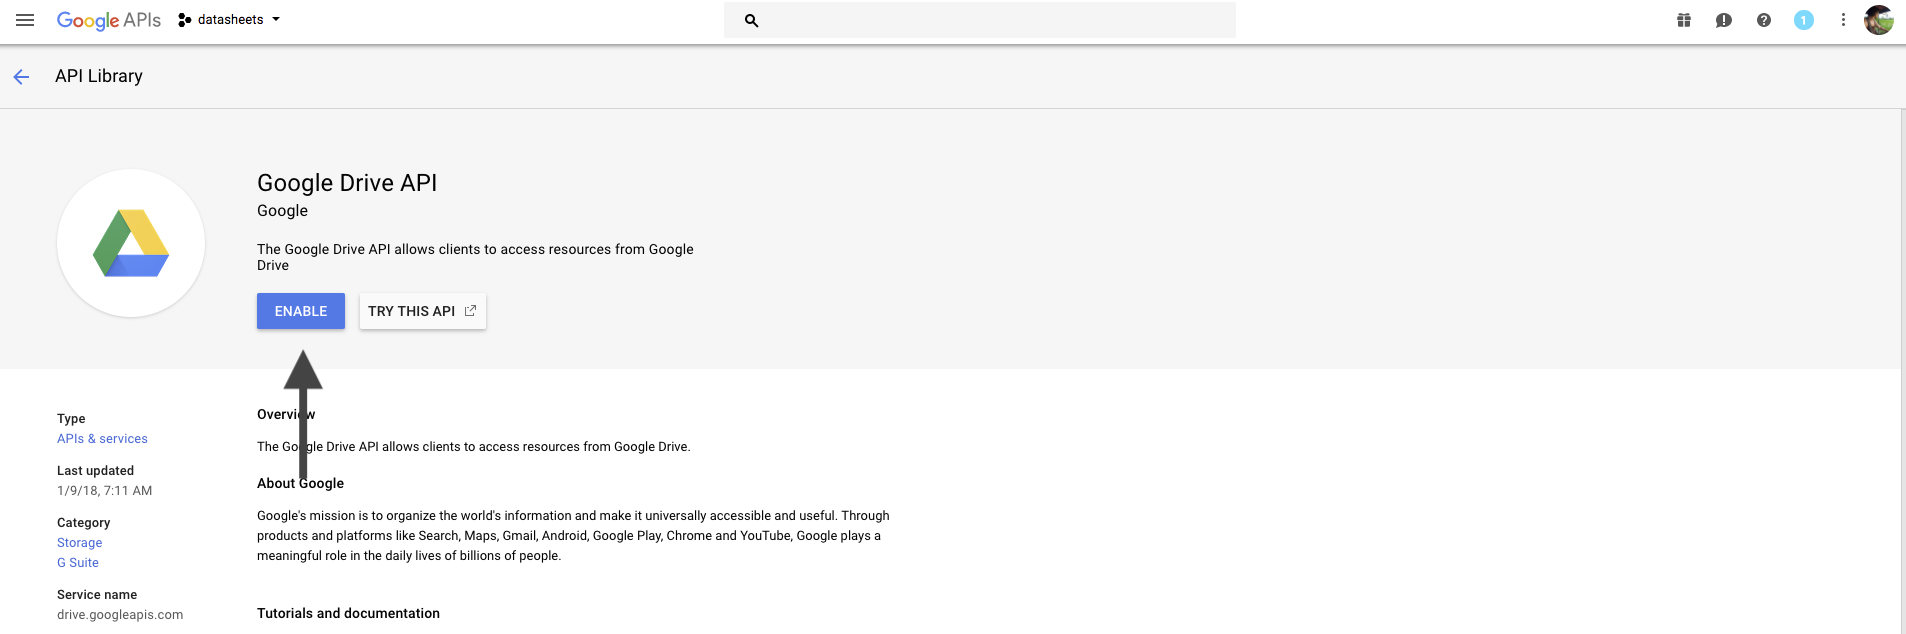
Do the same as above to enable the Google Sheets API.
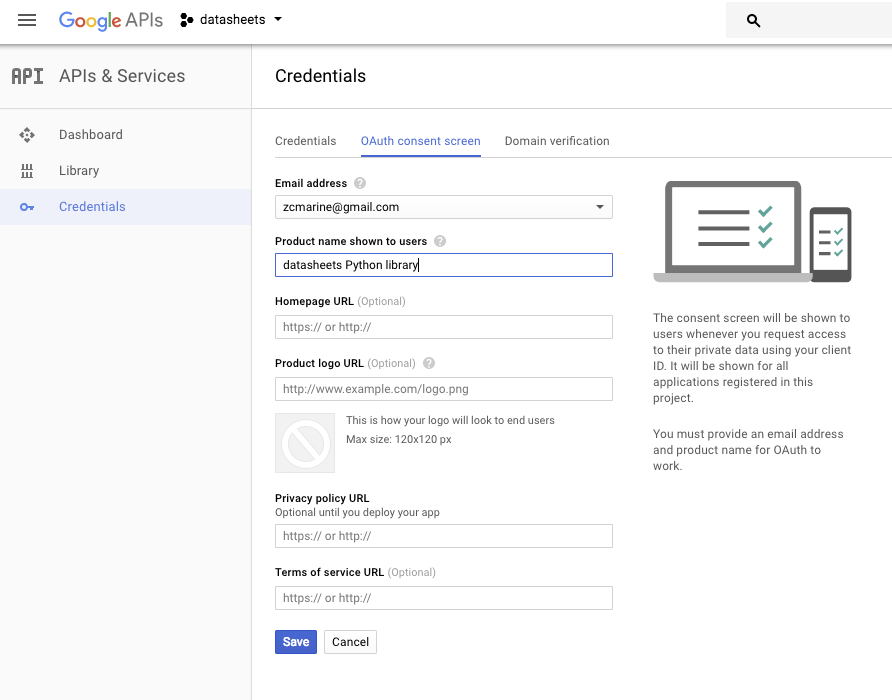
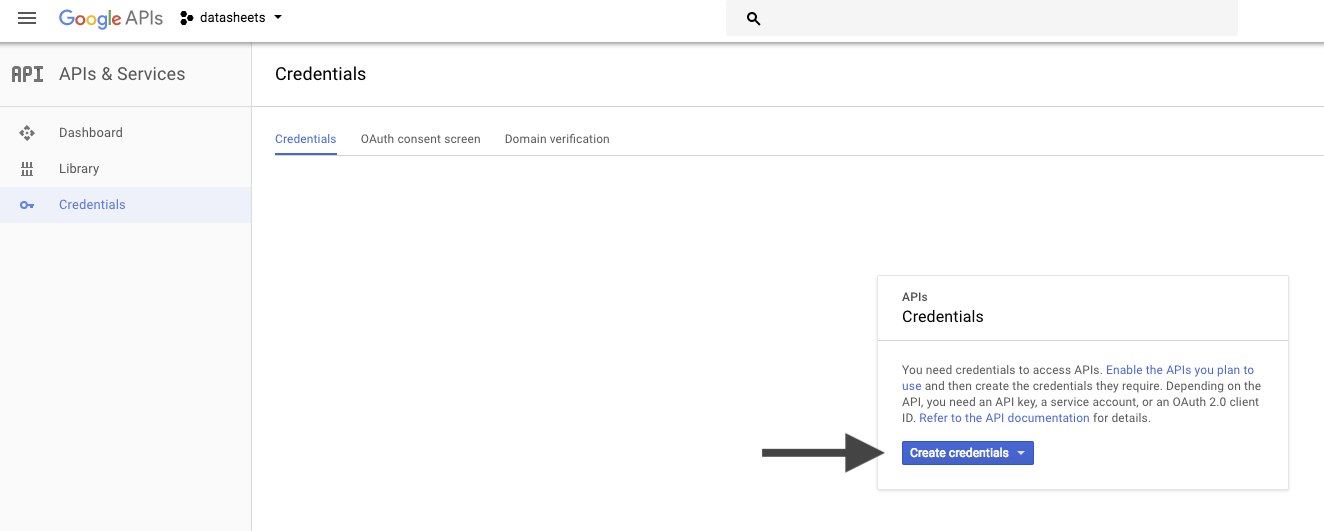
Click on ‘Credentials’, go to ‘OAuth consent screen’, and add a product name (e.g. ‘datasheets Python library’) and click Save.
OAuth Client ID Access
OAuth Client ID access is the kind of auth that shows up when you click ‘Sign in with Google’ on a
page: you authorize the application to access the information attached to a Google account. For
non-ETL-based use, this is the auth you want. The list of possible accounts to sign in with is based
on the gmail accounts tied to that particular browser. The end-user flow, which is entered on
instantiation of a datasheets.Client() object, would be as follows.
The list of possible accounts is brought up:

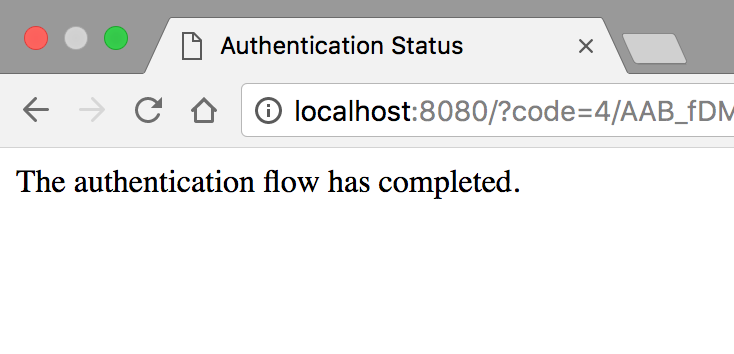
After selecting an account (and authorizing access on the next screen, if this is the first time you’ve selected that account), an authorization confirmation screen is presented:
To set this up:
Click on ‘Create Credentials’.
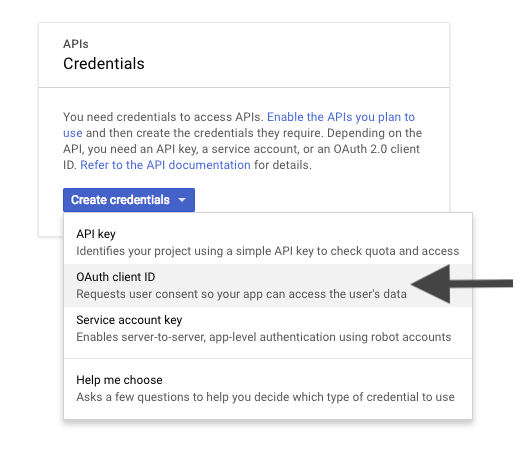
Choose ‘OAuth client ID’.
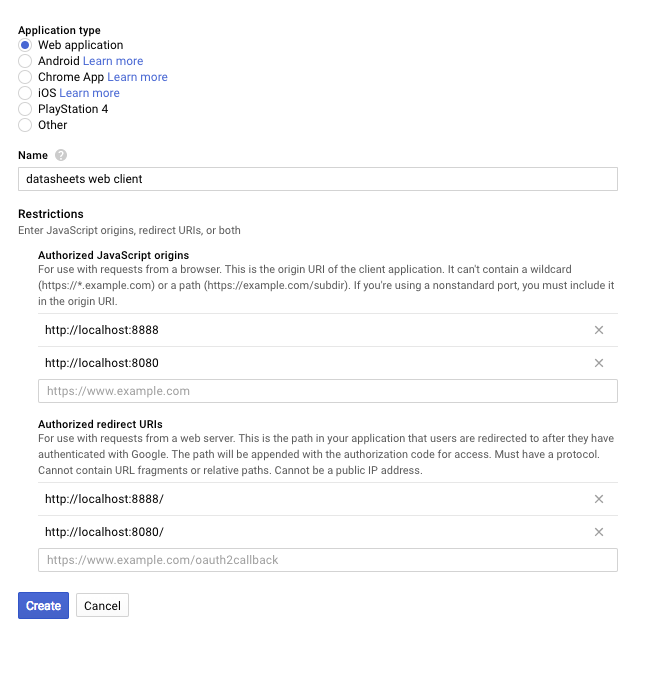
Select ‘Web application’, input a name, and enter Authorized JavaScript origins and Authorized redirect URIs. The Authorized JavaScript origins are
http://localhost:8888andhttp://localhost:8080. The Authorized redirect URIs are the same except with a forward slash (/) appended.Note
Don’t forget the forward slash at the end of the Authorized redirect URIs or you will get an error!
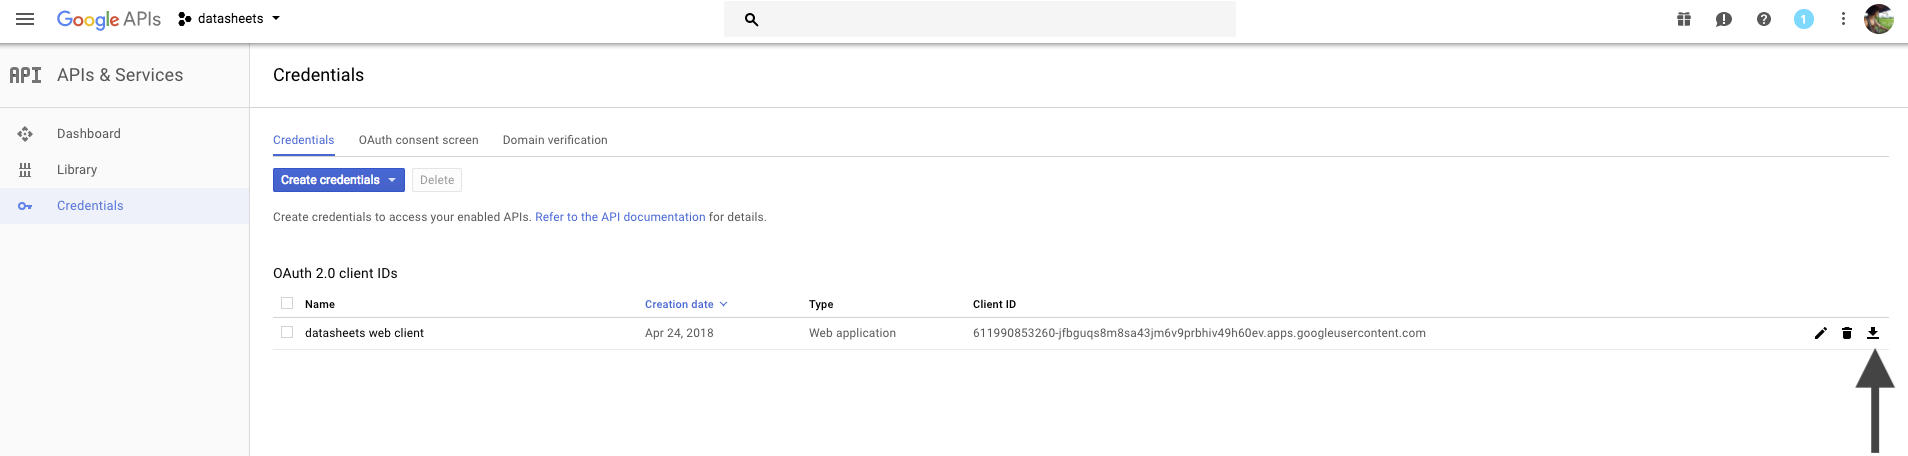
After clicking ‘Create’ and then ‘Ok’ on the following screen, click the download button.
Move the file and rename it. By default datasheets will look for this file in
~/.datasheets/client_secrets.json, but if you’d prefer to place this file elsewhere you just have to specify the path in the$DATASHEETS_SECRETS_PATHenvvar. Assuming you want to use the default location though, first create the~/.datasheetsfolder and move the file you downloaded there, renaming it toclient_secrets.json. You can do this in Finder, but if you’d prefer terminal then follow the commands below, using your client_secrets file’s original name:mkdir ~/.datasheets mv ~/Downloads/client_secret_<really_long>.apps.googleusercontent.com.json ~/.datasheets/client_secrets.json
Congratulations! You’re now set up with client auth and can start using the library! If you only plan to use datasheets on your local machine then you’re done, but if you might need service account access then read on!
OAuth Service Account Access
OAuth service accounts are pseudo-users that have their own email address. Documents shared with a service account will be accessible by the service (as a side note, this is how gspread works). This approach is ideal for ETL as a user doesn’t have to manually authorize access each time. However, a major weakness to this method is that anyone who gets hold of the credentials we are about to generate will be able to access all documents shared with this account, which is a weakness that the OAuth Client ID access does not share. With that in mind, the credentials we are about to generate should be kept secure.
To set up service account access:
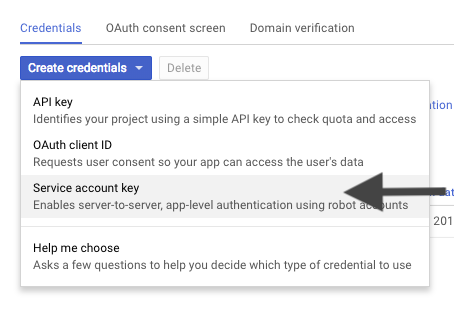
Click on ‘Create Credentials’ again, this time choosing ‘Service account key’.
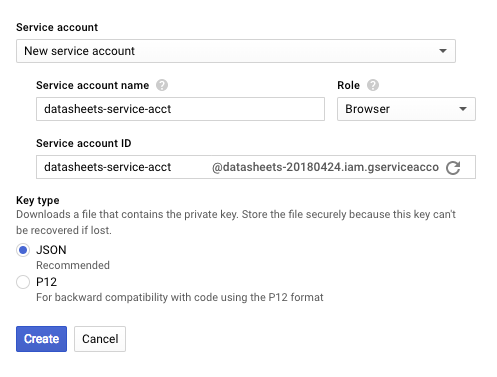
Select ‘New service account’, under role select Project -> Browser, and key type ‘JSON’, and click ‘Create’. The file will automatically be downloaded.
As before, save the file to
~/.datasheets/, this time naming the fileservice_key.json. Again, you can do this in Finder, but if you’d prefer terminal follow the commands below, using your service_key file’s original name:mv ~/Downloads/datasheets-auth-1e8be8d27209.json ~/.datasheets/service_key.json
As before, if you have a preferred location for this file you can instead place it there and specify
the path to the file to datasheets with the envvar $DATASHEETS_SERVICE_PATH.
To use datasheets with your service account, create your client with datasheets.Client(service=True).
Congratulations! You’re all set up! Now just pip install datasheets and away you go!